


Access My Property in 3 simple steps:
- Enter your property’s Plan Number on this page to access your landing page (see ‘How to access the My Property portal‘)
- Register for a My Property profile to receive your log in details (see ‘How to Register for your My Property profile‘)
- Log in from the landing page to access Lot Owner or Committee Member information (see ‘How to log in to your My Property Profile‘)
How to register for your My Property profile
You will first need to register an account to access My Property.
By registering we can determine if you are an Owner or a Committee Member and provide the appropriate level of access.
Simply visit this page and enter your property’s plan number to be taken to your property’s landing page.

Once on the landing page, simply click the ‘Get Started Now’ button, or click the ‘Login’ button in the top navigation bar, then select ‘Property Access’ then ‘Request Access’.


Fill out the registration form, and our team will verify your details and activate your account.
You will receive an email when your login is ready.
How to access the My Property portal
You can access My Property via the ‘My Property login’ button in the top navigation of this website, or via the ‘Quick Links’ sidebar on the left-hand side.
You can also bookmark this page for easy access.
To access your portal, all you need is the Plan Number of your Owners Corporation. The best way to find your plan number is to check your levy notice from The Knight.
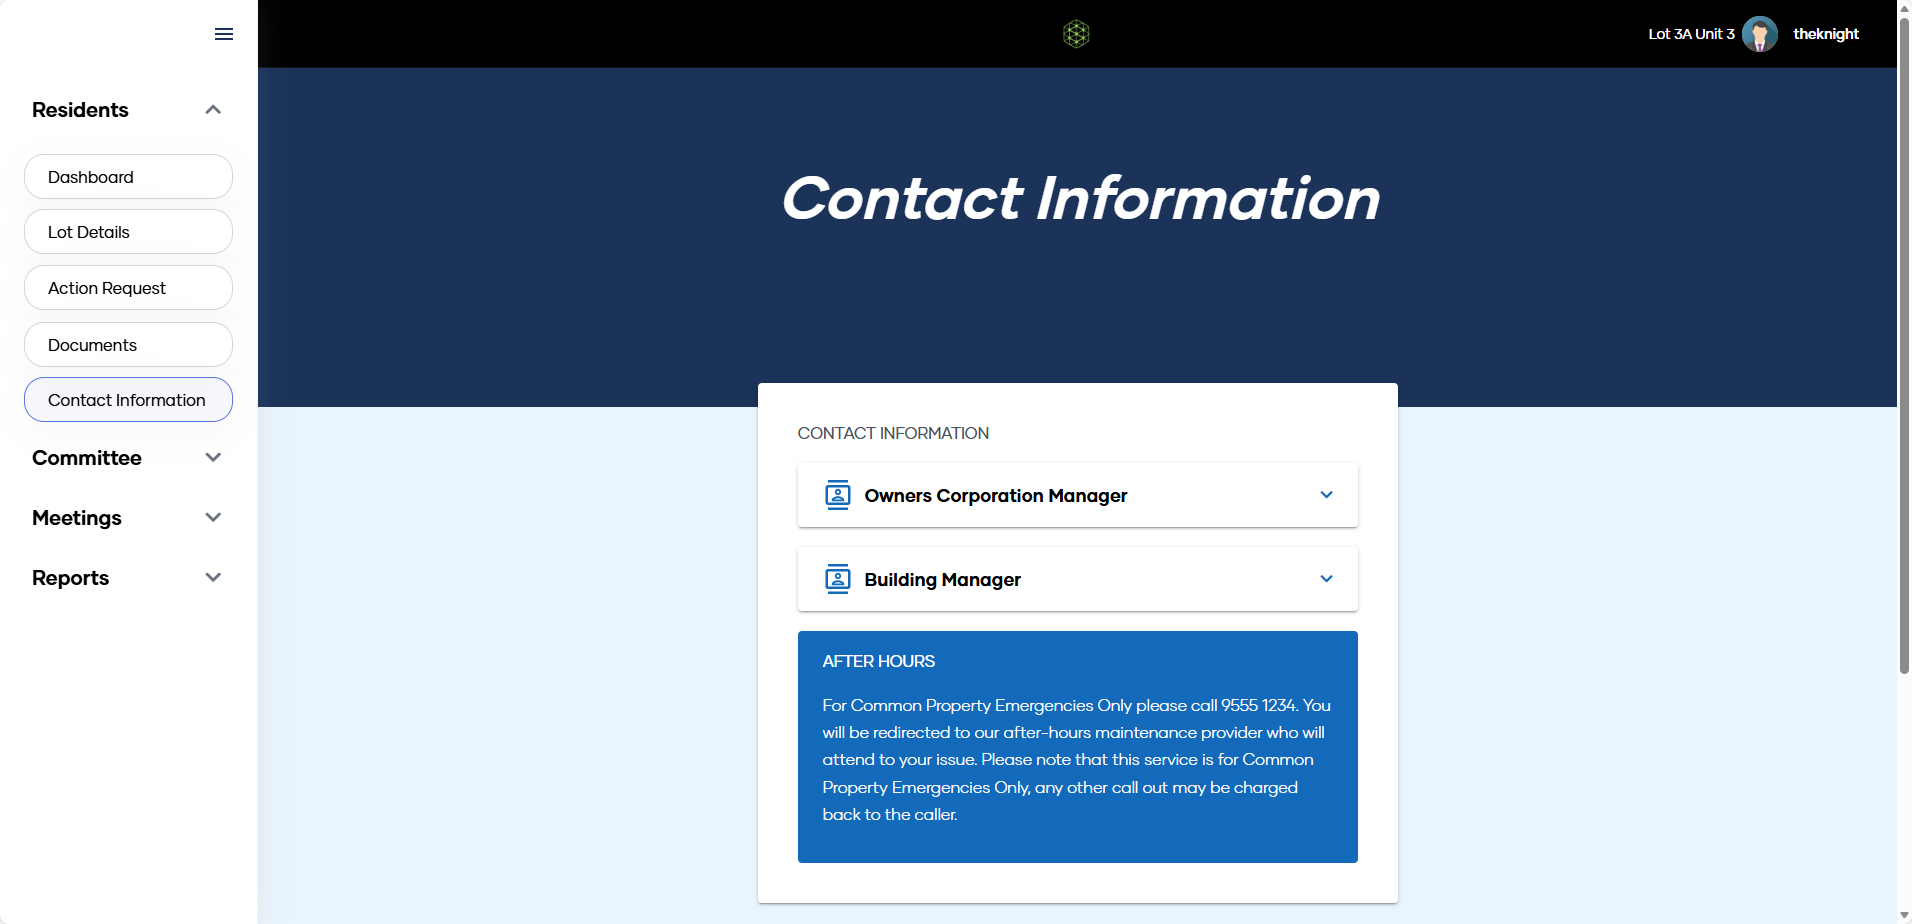
The My Property landing page
Once you have entered your plan number, you will be taken to the landing page for your Owners Corporation.
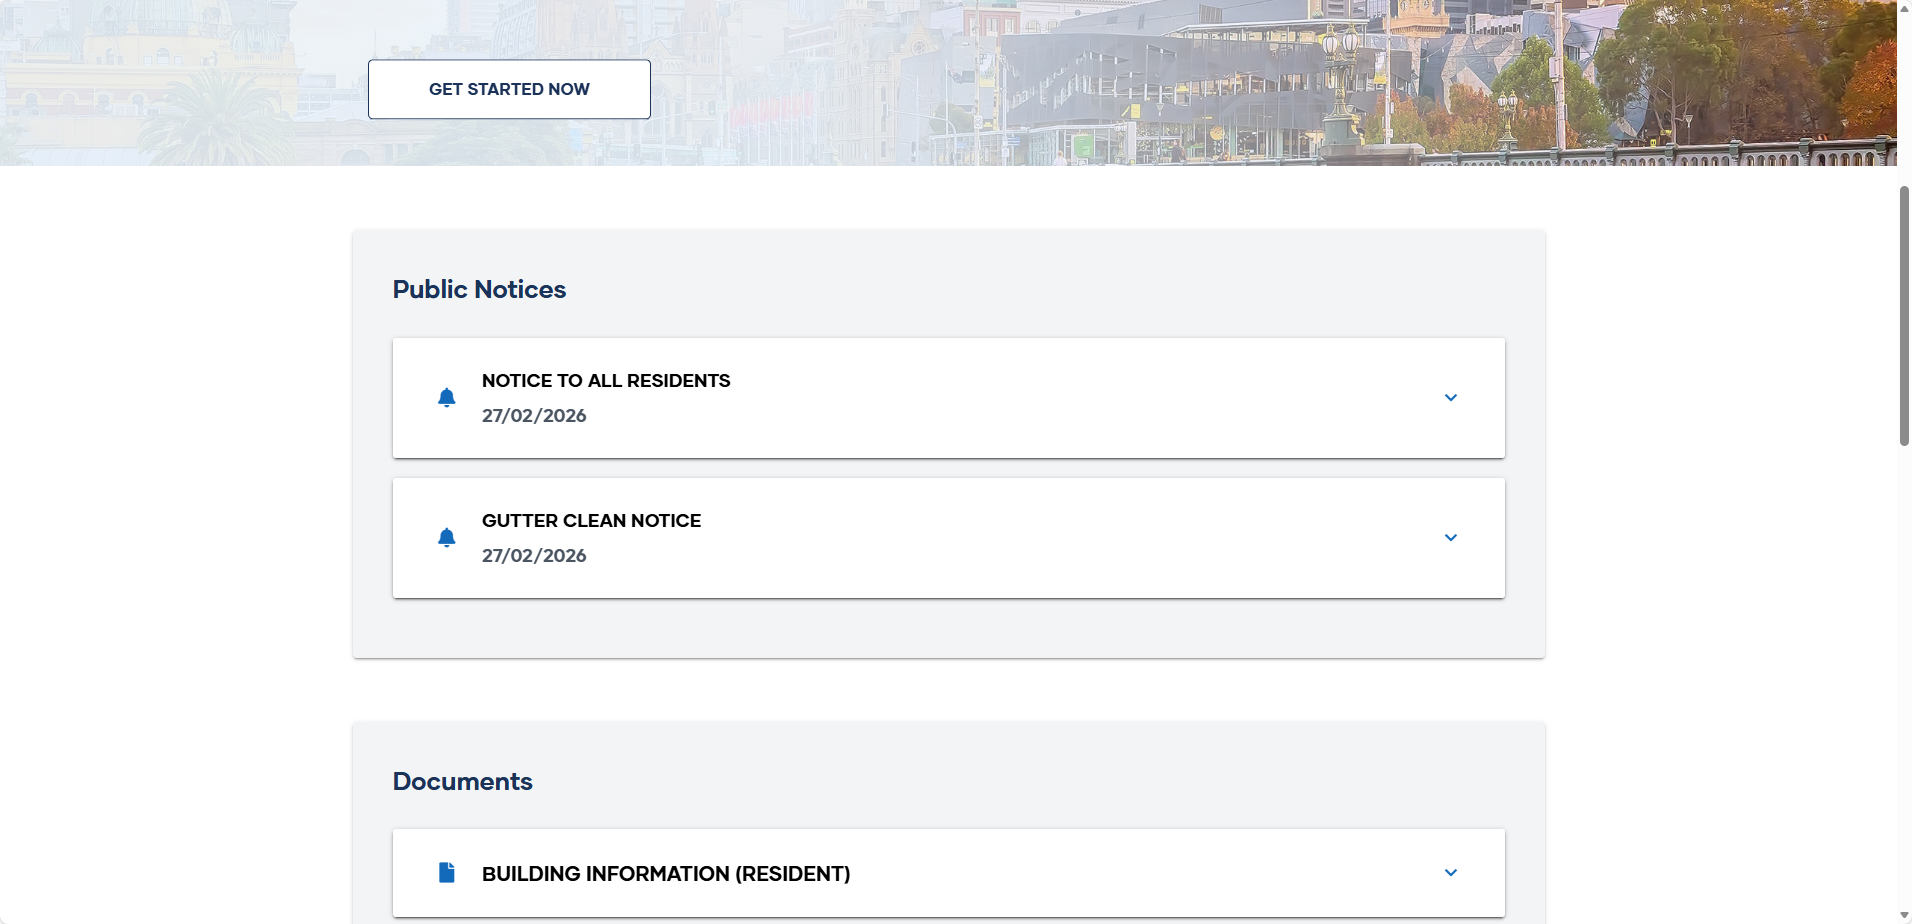
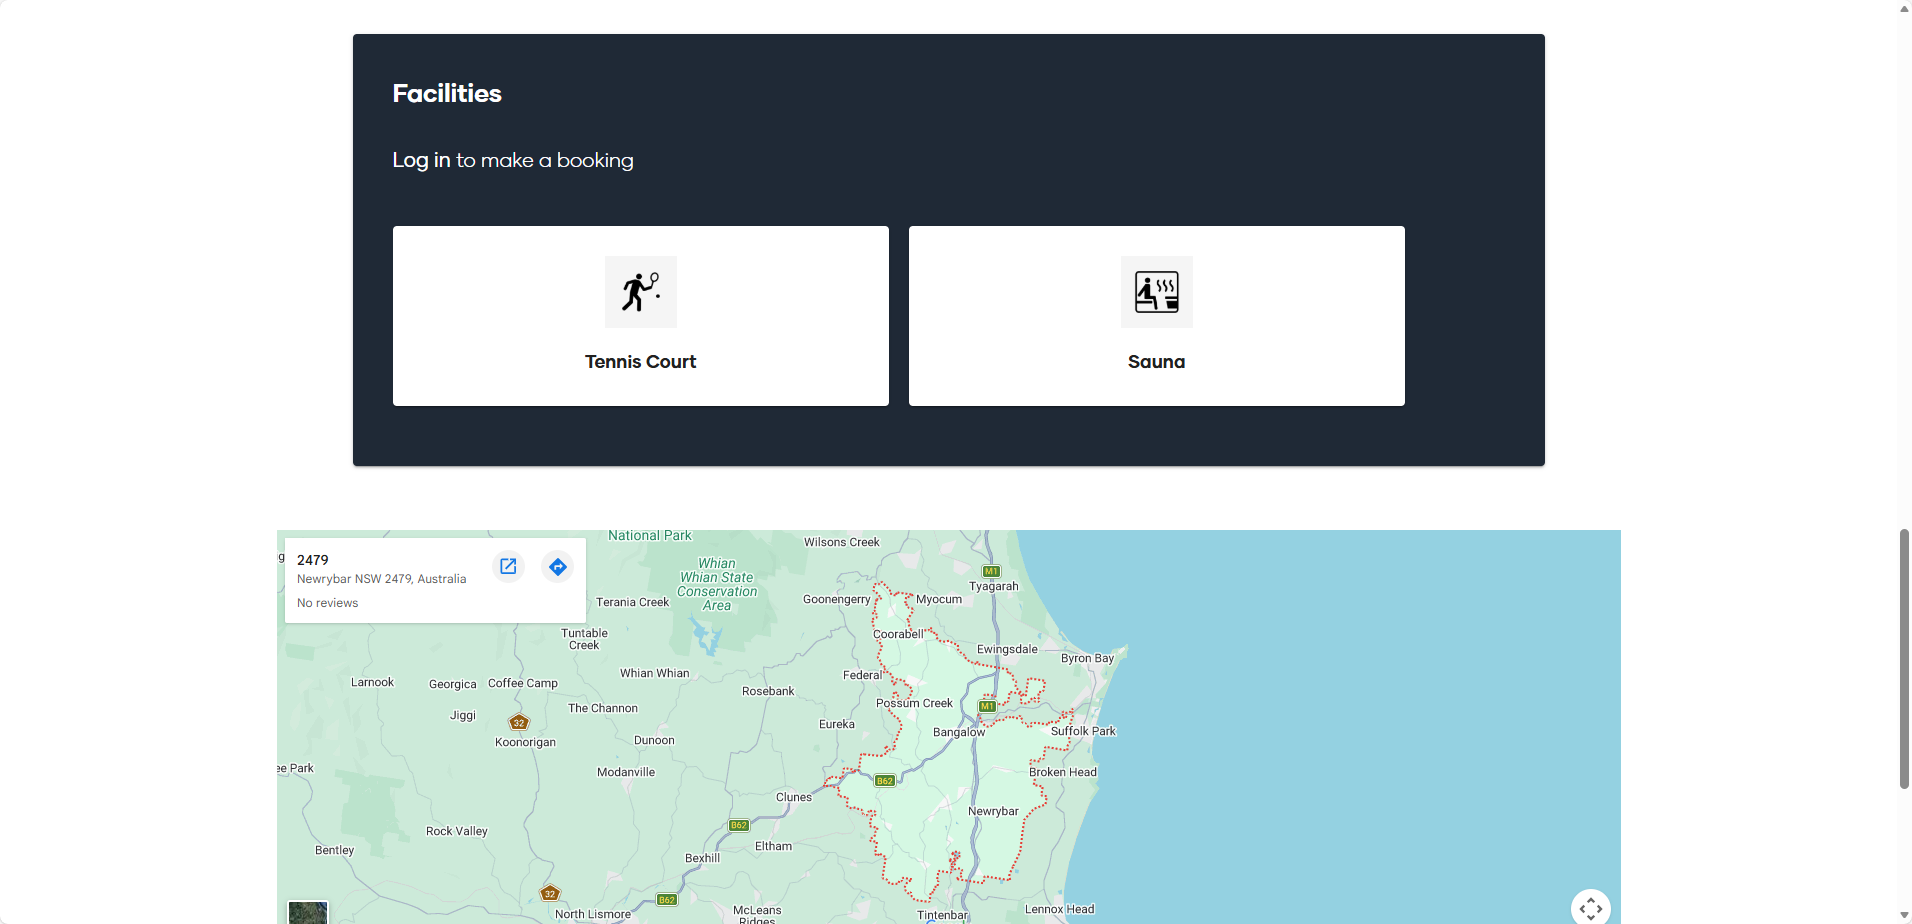
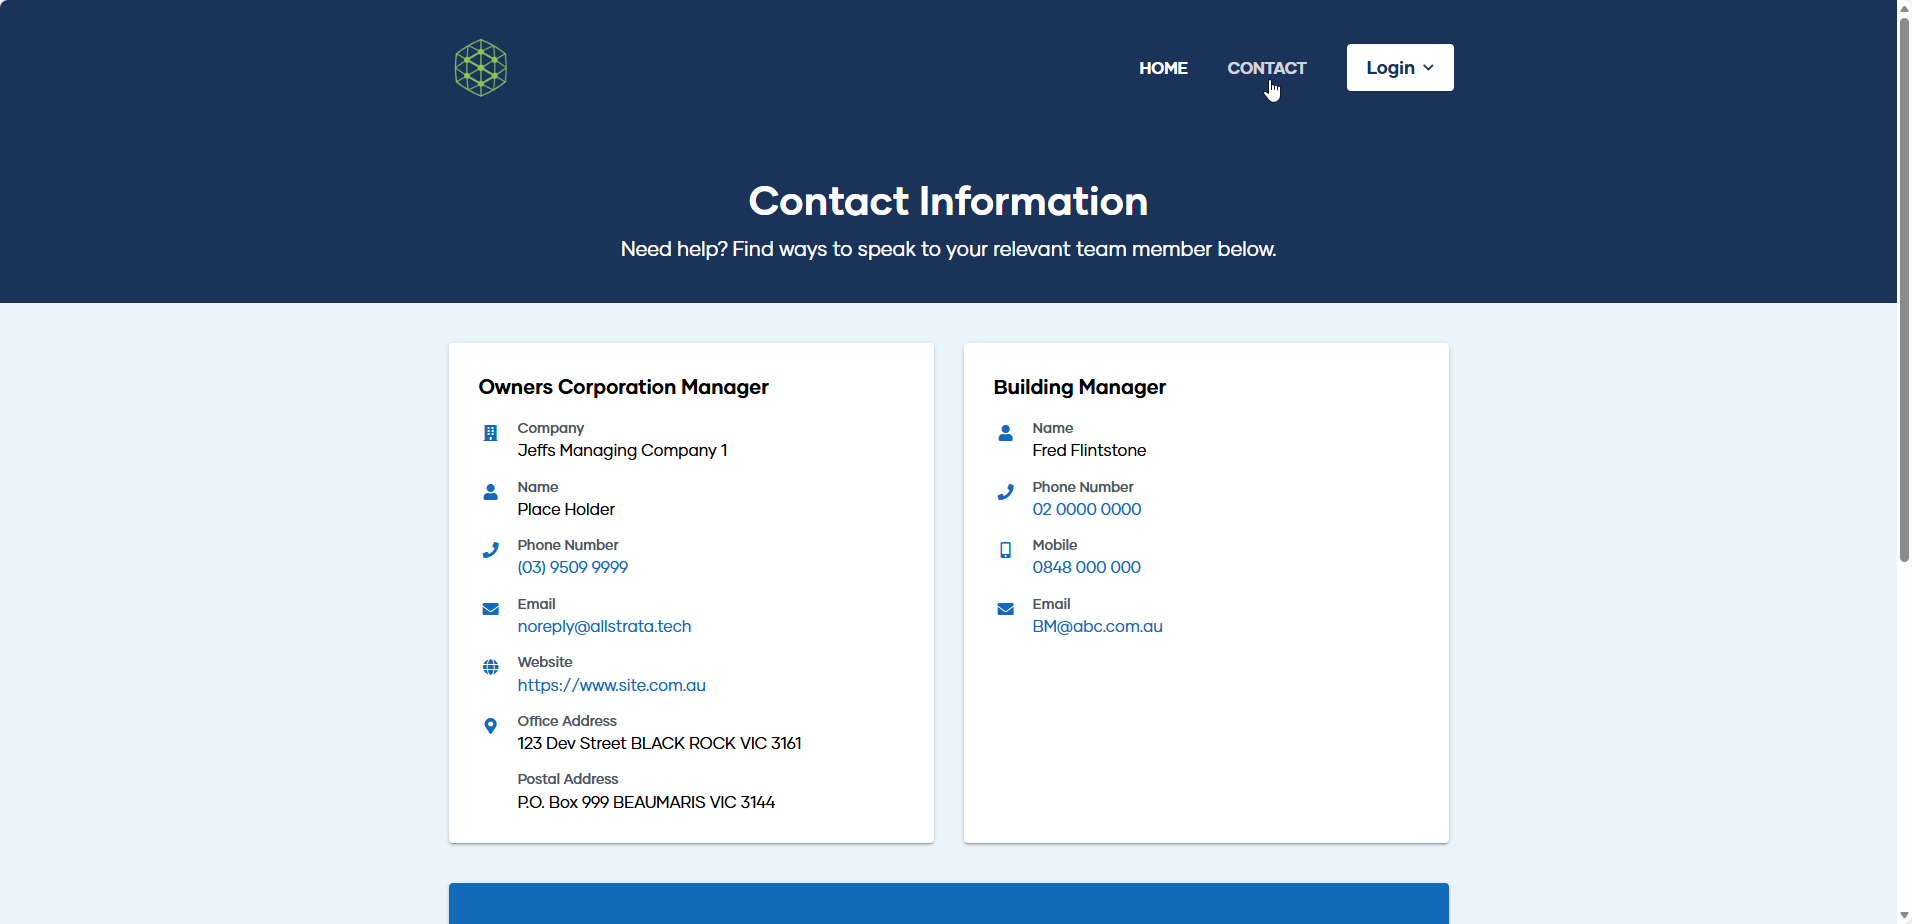
This landing page can be accessed by anyone with the plan number, and holds general information about your property, such as public notices, documents, building facilities and contact information for your Owners Corporation and/or Building Manager.
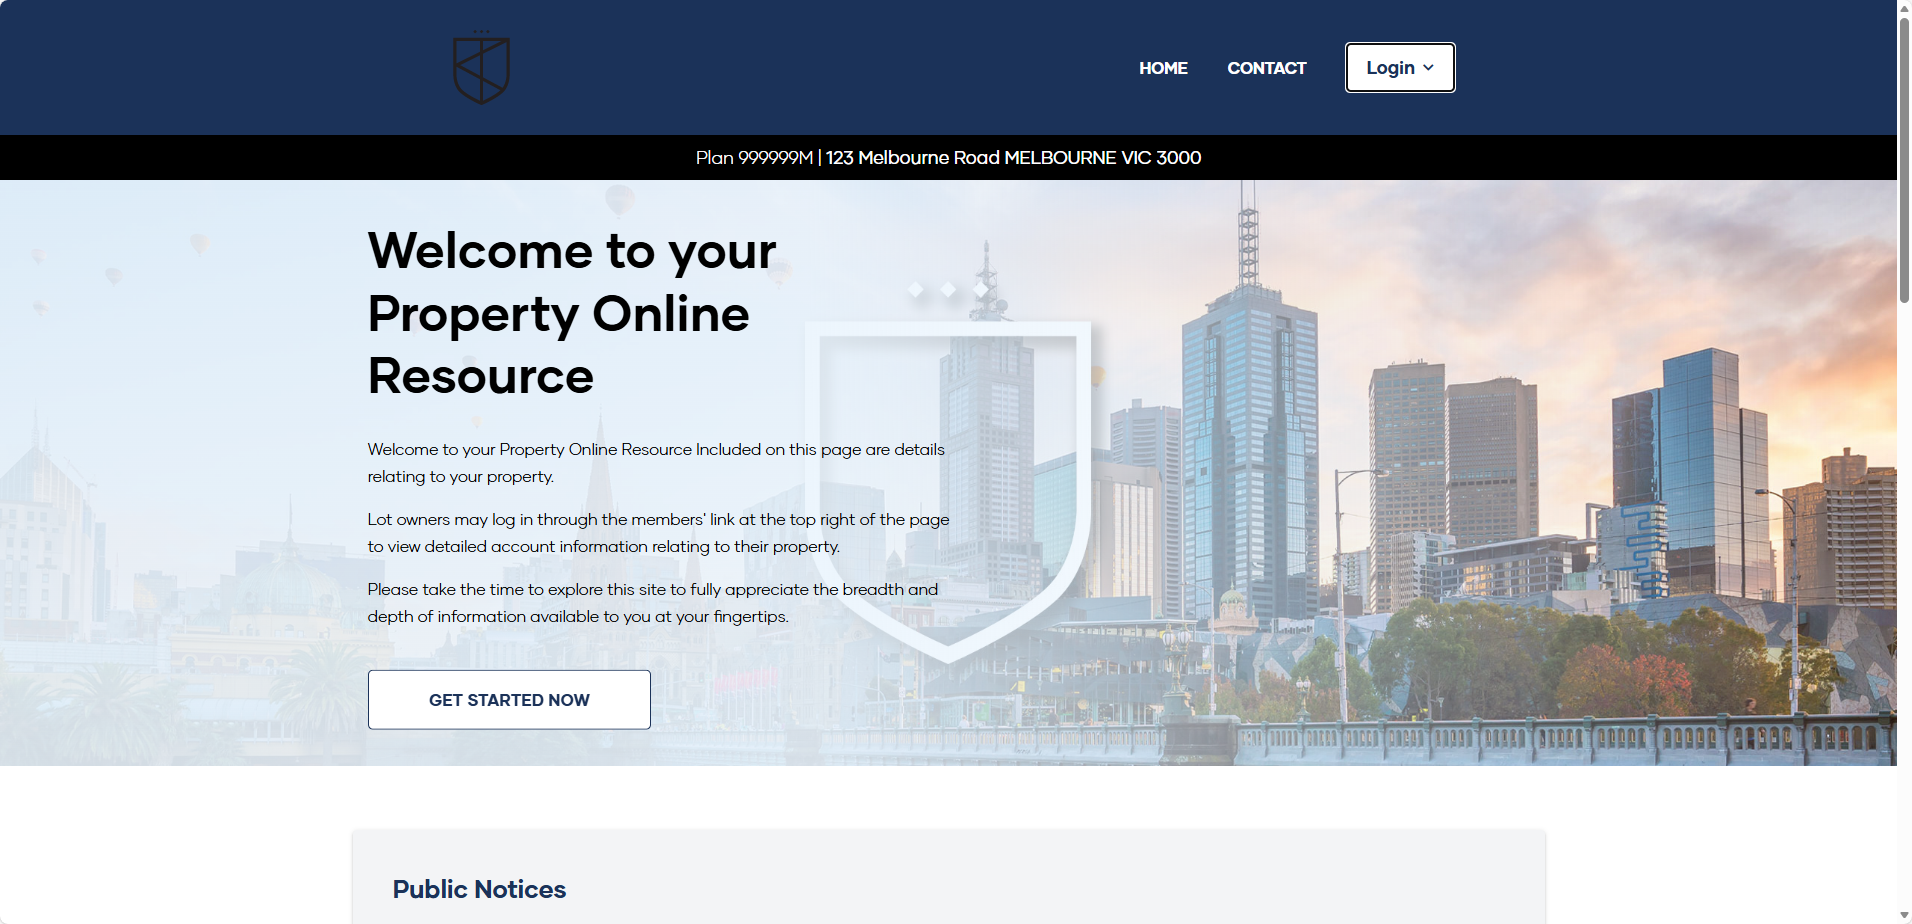
To see specific information as a Lot Owner or Committee Member you need to log in from this screen.
How to log in to your My Property profile
Click ‘Log In’ in the top right corner to access your My Property profile. If you have not yet registered see ‘How to register for your My Property Profile‘

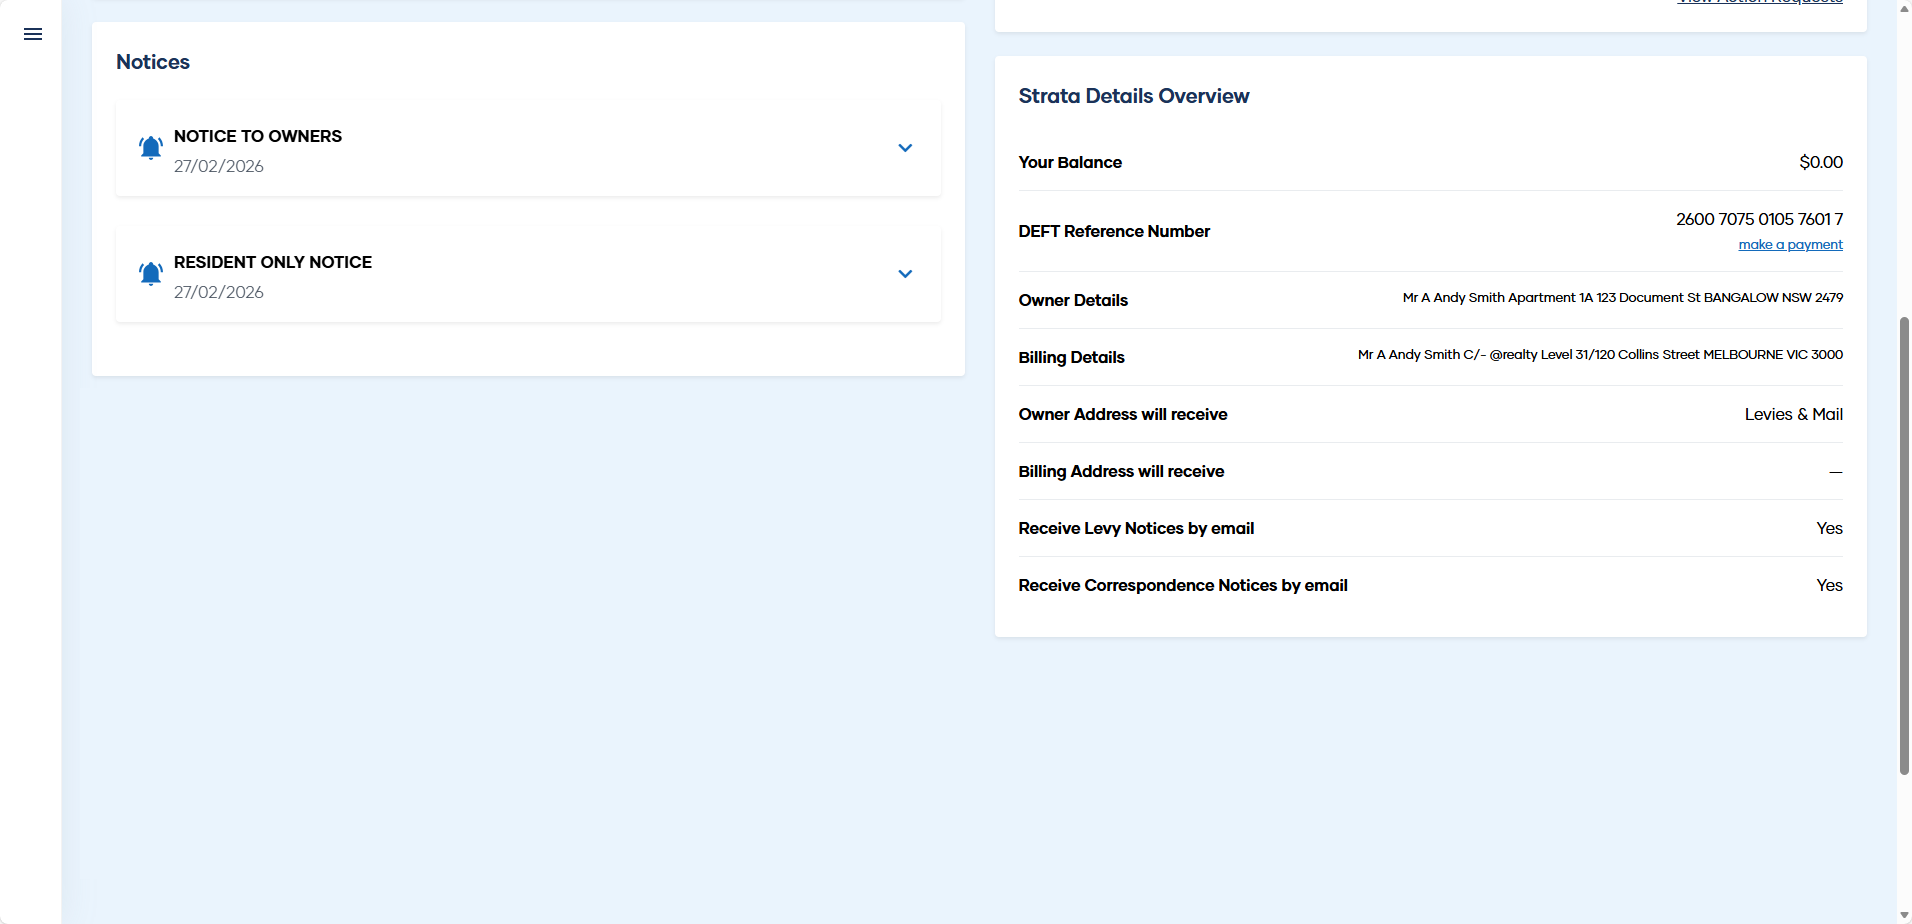
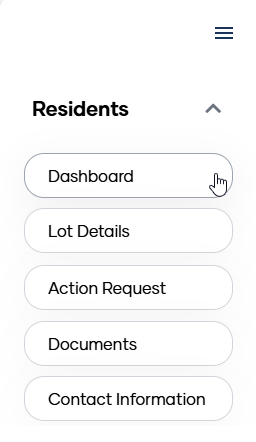
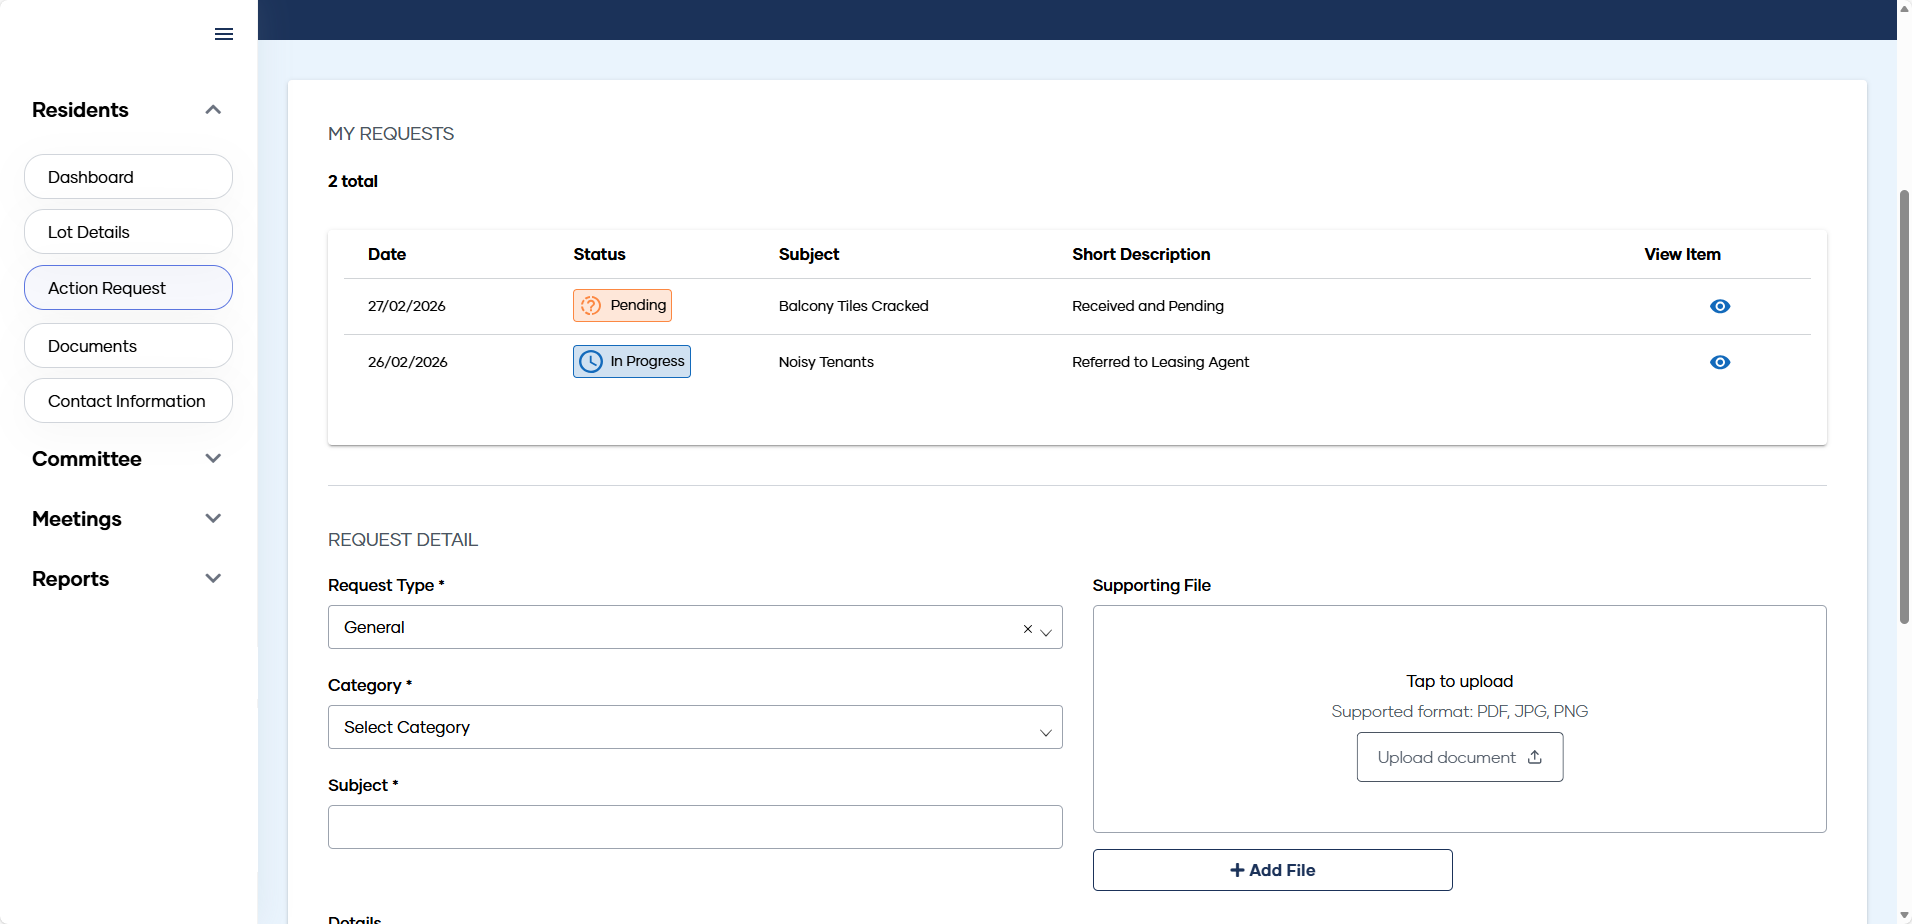
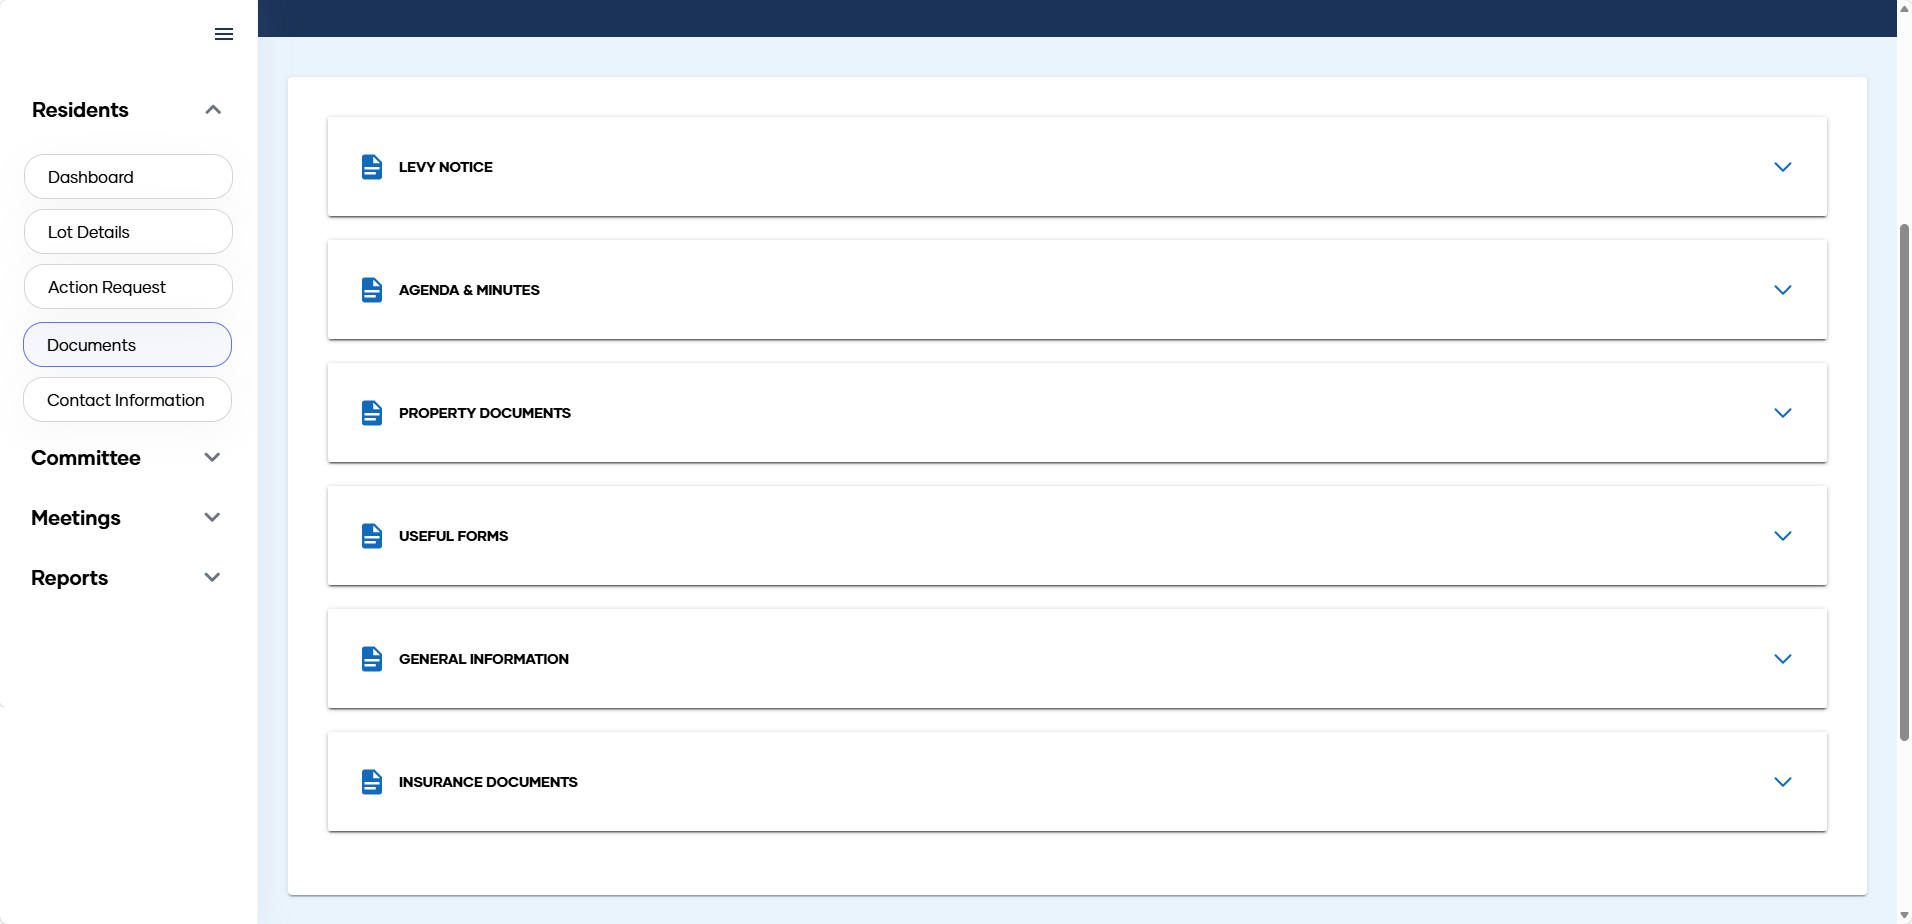
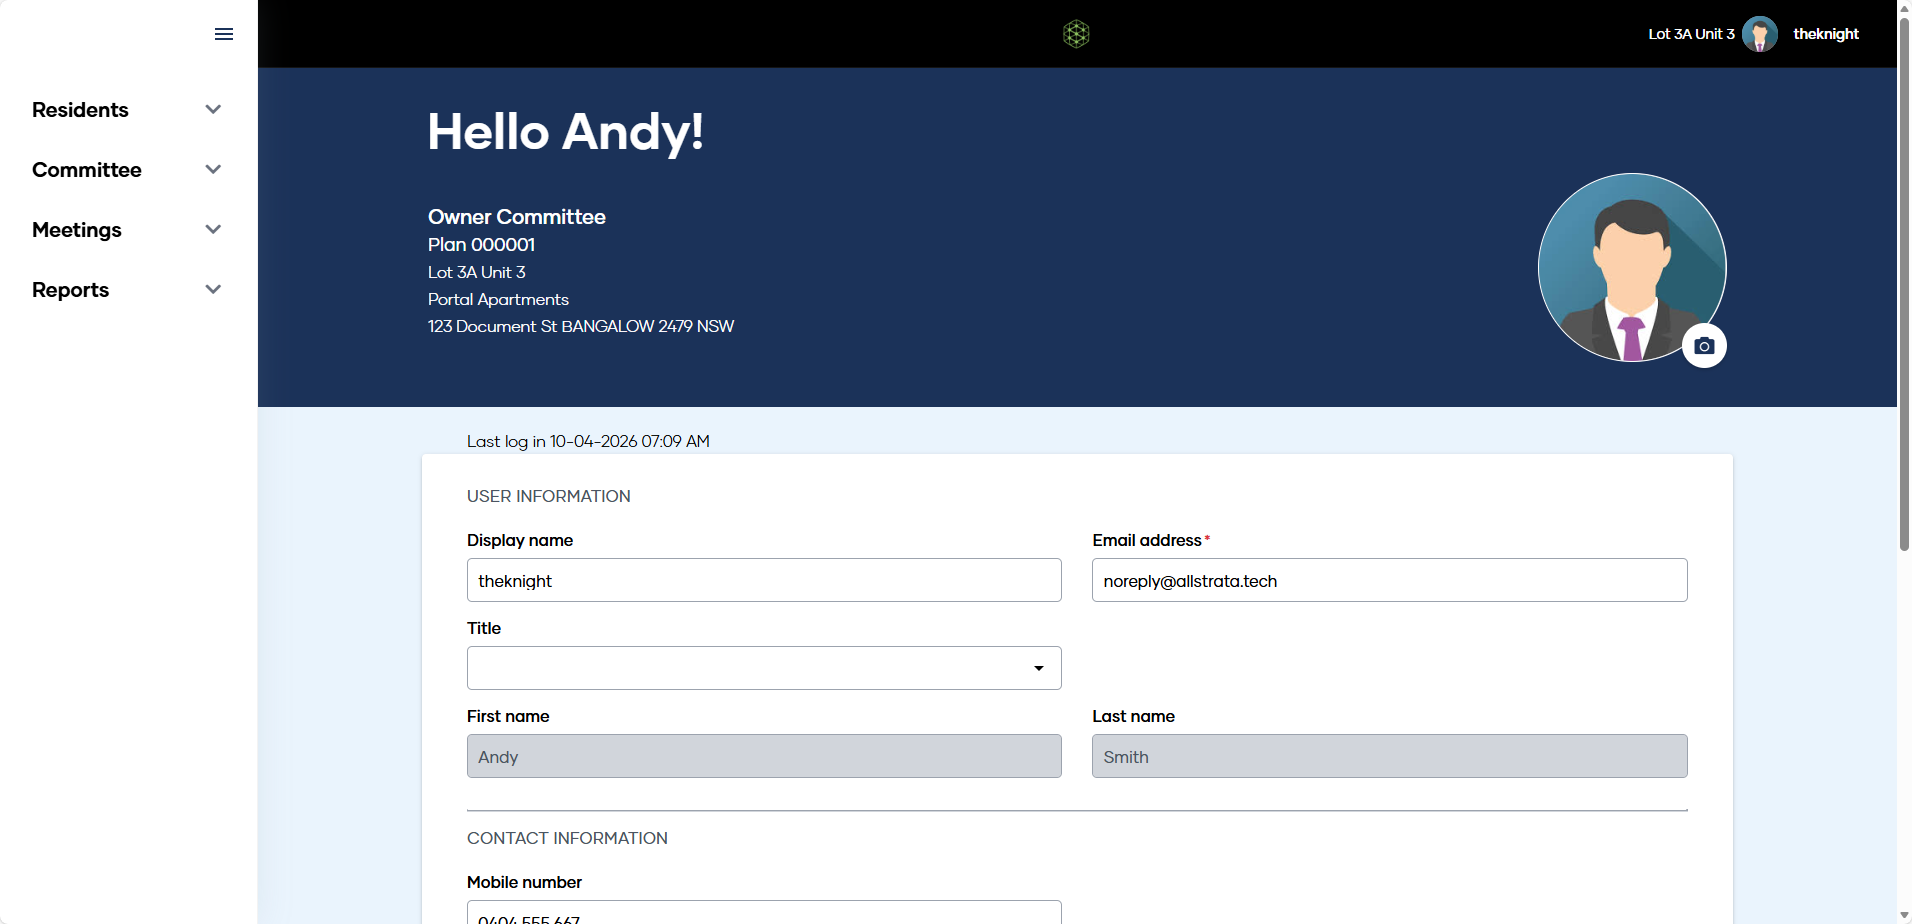
What can Lot Owners access?
Owners have access to functionality such as making requests, accessing documents such as levy notices and meeting minutes, and viewing fee statements.
You can also click your display name in the top right-hand corner to access your profile. From your profile page you can update your contact details and switch between lot views (if you own more than one lot in an OC managed by The Knight).


What can Committee Members access?
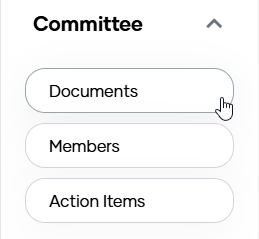
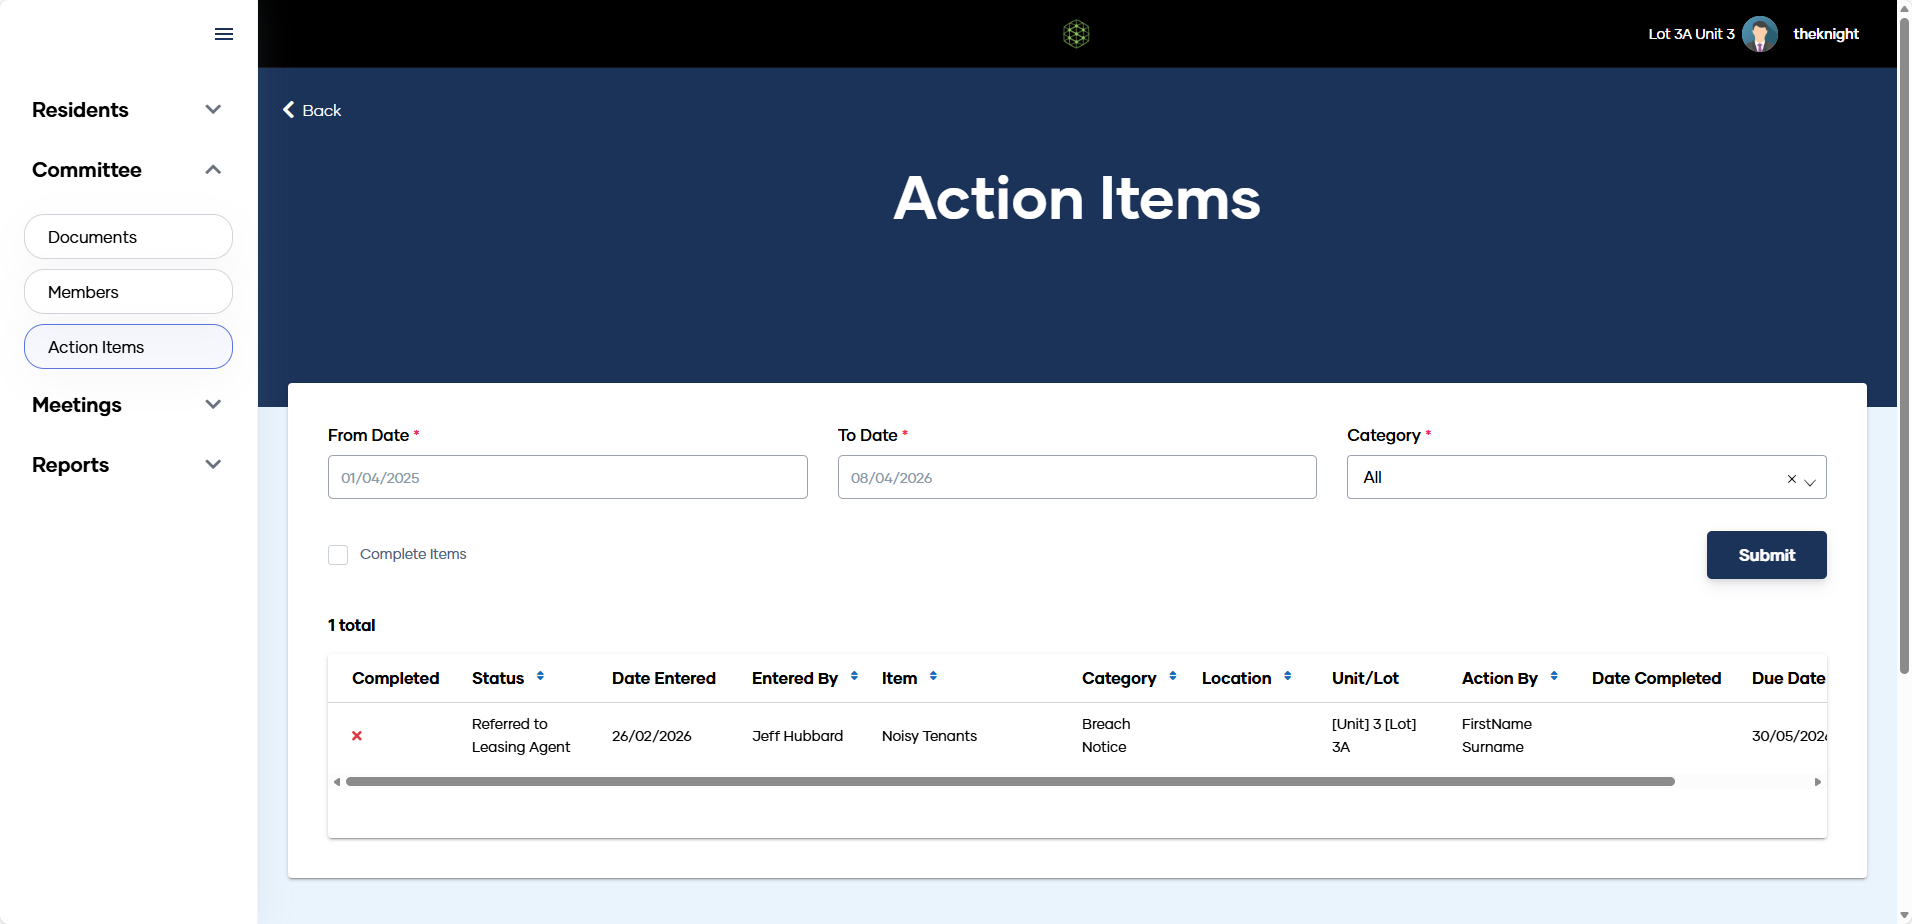
If you are a Committee Member you are able to access additional information and functionality within the My Property portal.
Under the ‘Committee’ heading of the main navigation, you will find documents, the names of your fellow Committee members and Action Items.
From the ‘Reports’ heading, a whole host of important reports can be accessed, including a Financial Snapshot, Balance Sheet, Revenue & Expense statements and more.


Can I approve or reject invoices for my OC?
External Approvers have the ability to view, approve and reject invoices for the OC.
If you wish to be an External Approver for your property, speak with your Owners Corporation Manager.
We will be able to set up your External Approver profile and provide you with login details.
Once set up, simply click ‘Login’ in the main navigation bar on the landing page, and then ‘Approvals’, ‘Approver Login’.

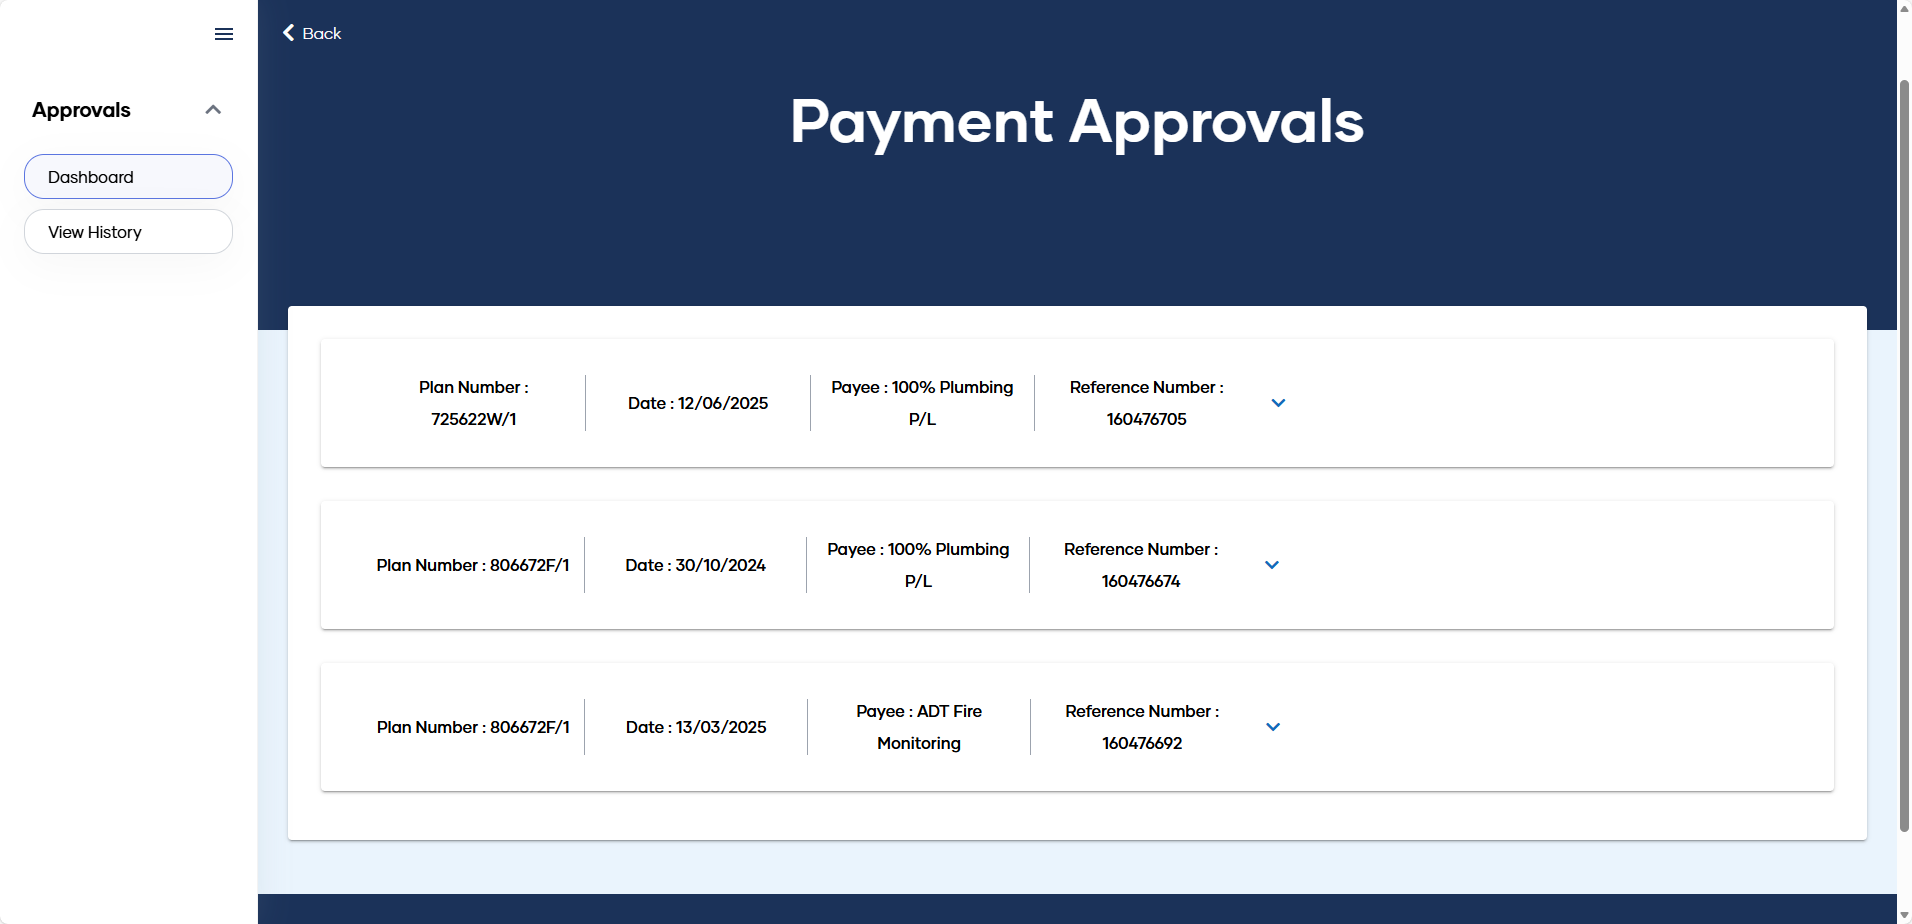
How to Approve or Reject Invoices
- Click View Invoice and compare the current invoice Details to the contents of the invoice .pdf file
- [Optional] Click View Work Order to open a copy of the work order assigned to the expense (if applicable)
- Click Approve or Decline as appropriate, noting a reason for declining needs to be entered in Your Comments
- The record will change colour depending on the selection, i.e. green for Approved and Red for Declined
- Repeat for all invoices in the queue

Viewing the Approval History
- Select ‘Approvals’ from the Navigation Menu and click ‘View History’
- Enter a From Date and a To Date
- [Optional] Select a Creditor to filter the results, if required
- Click Search
- Results will be displayed in a screen similar to the Dashboard screen, where the user can click within the blue outlines of each invoice record to display the details of that invoice
